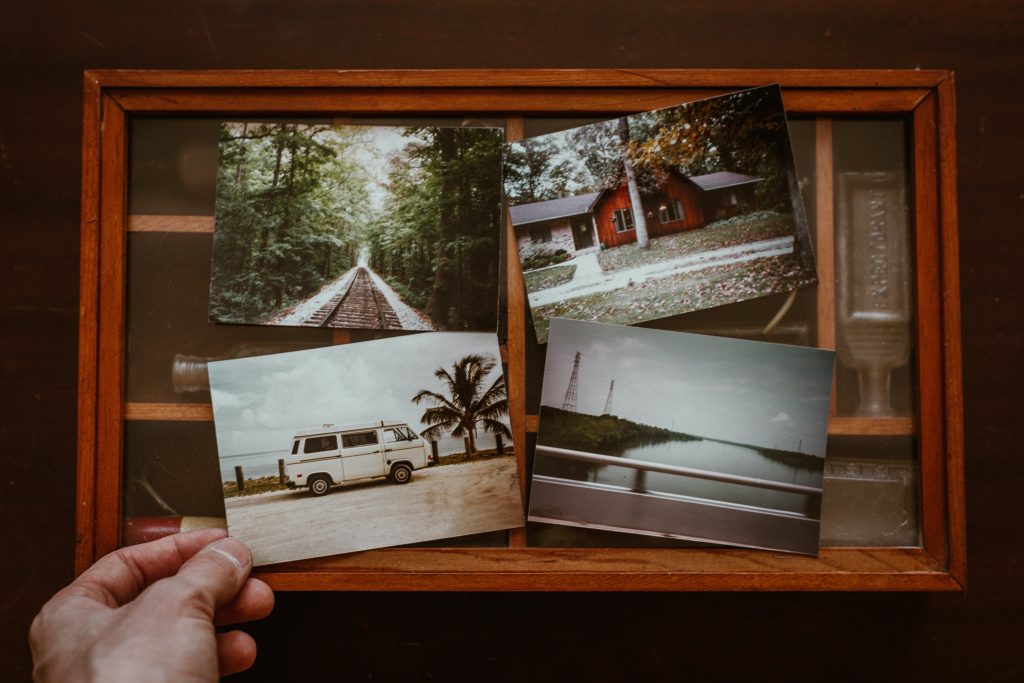
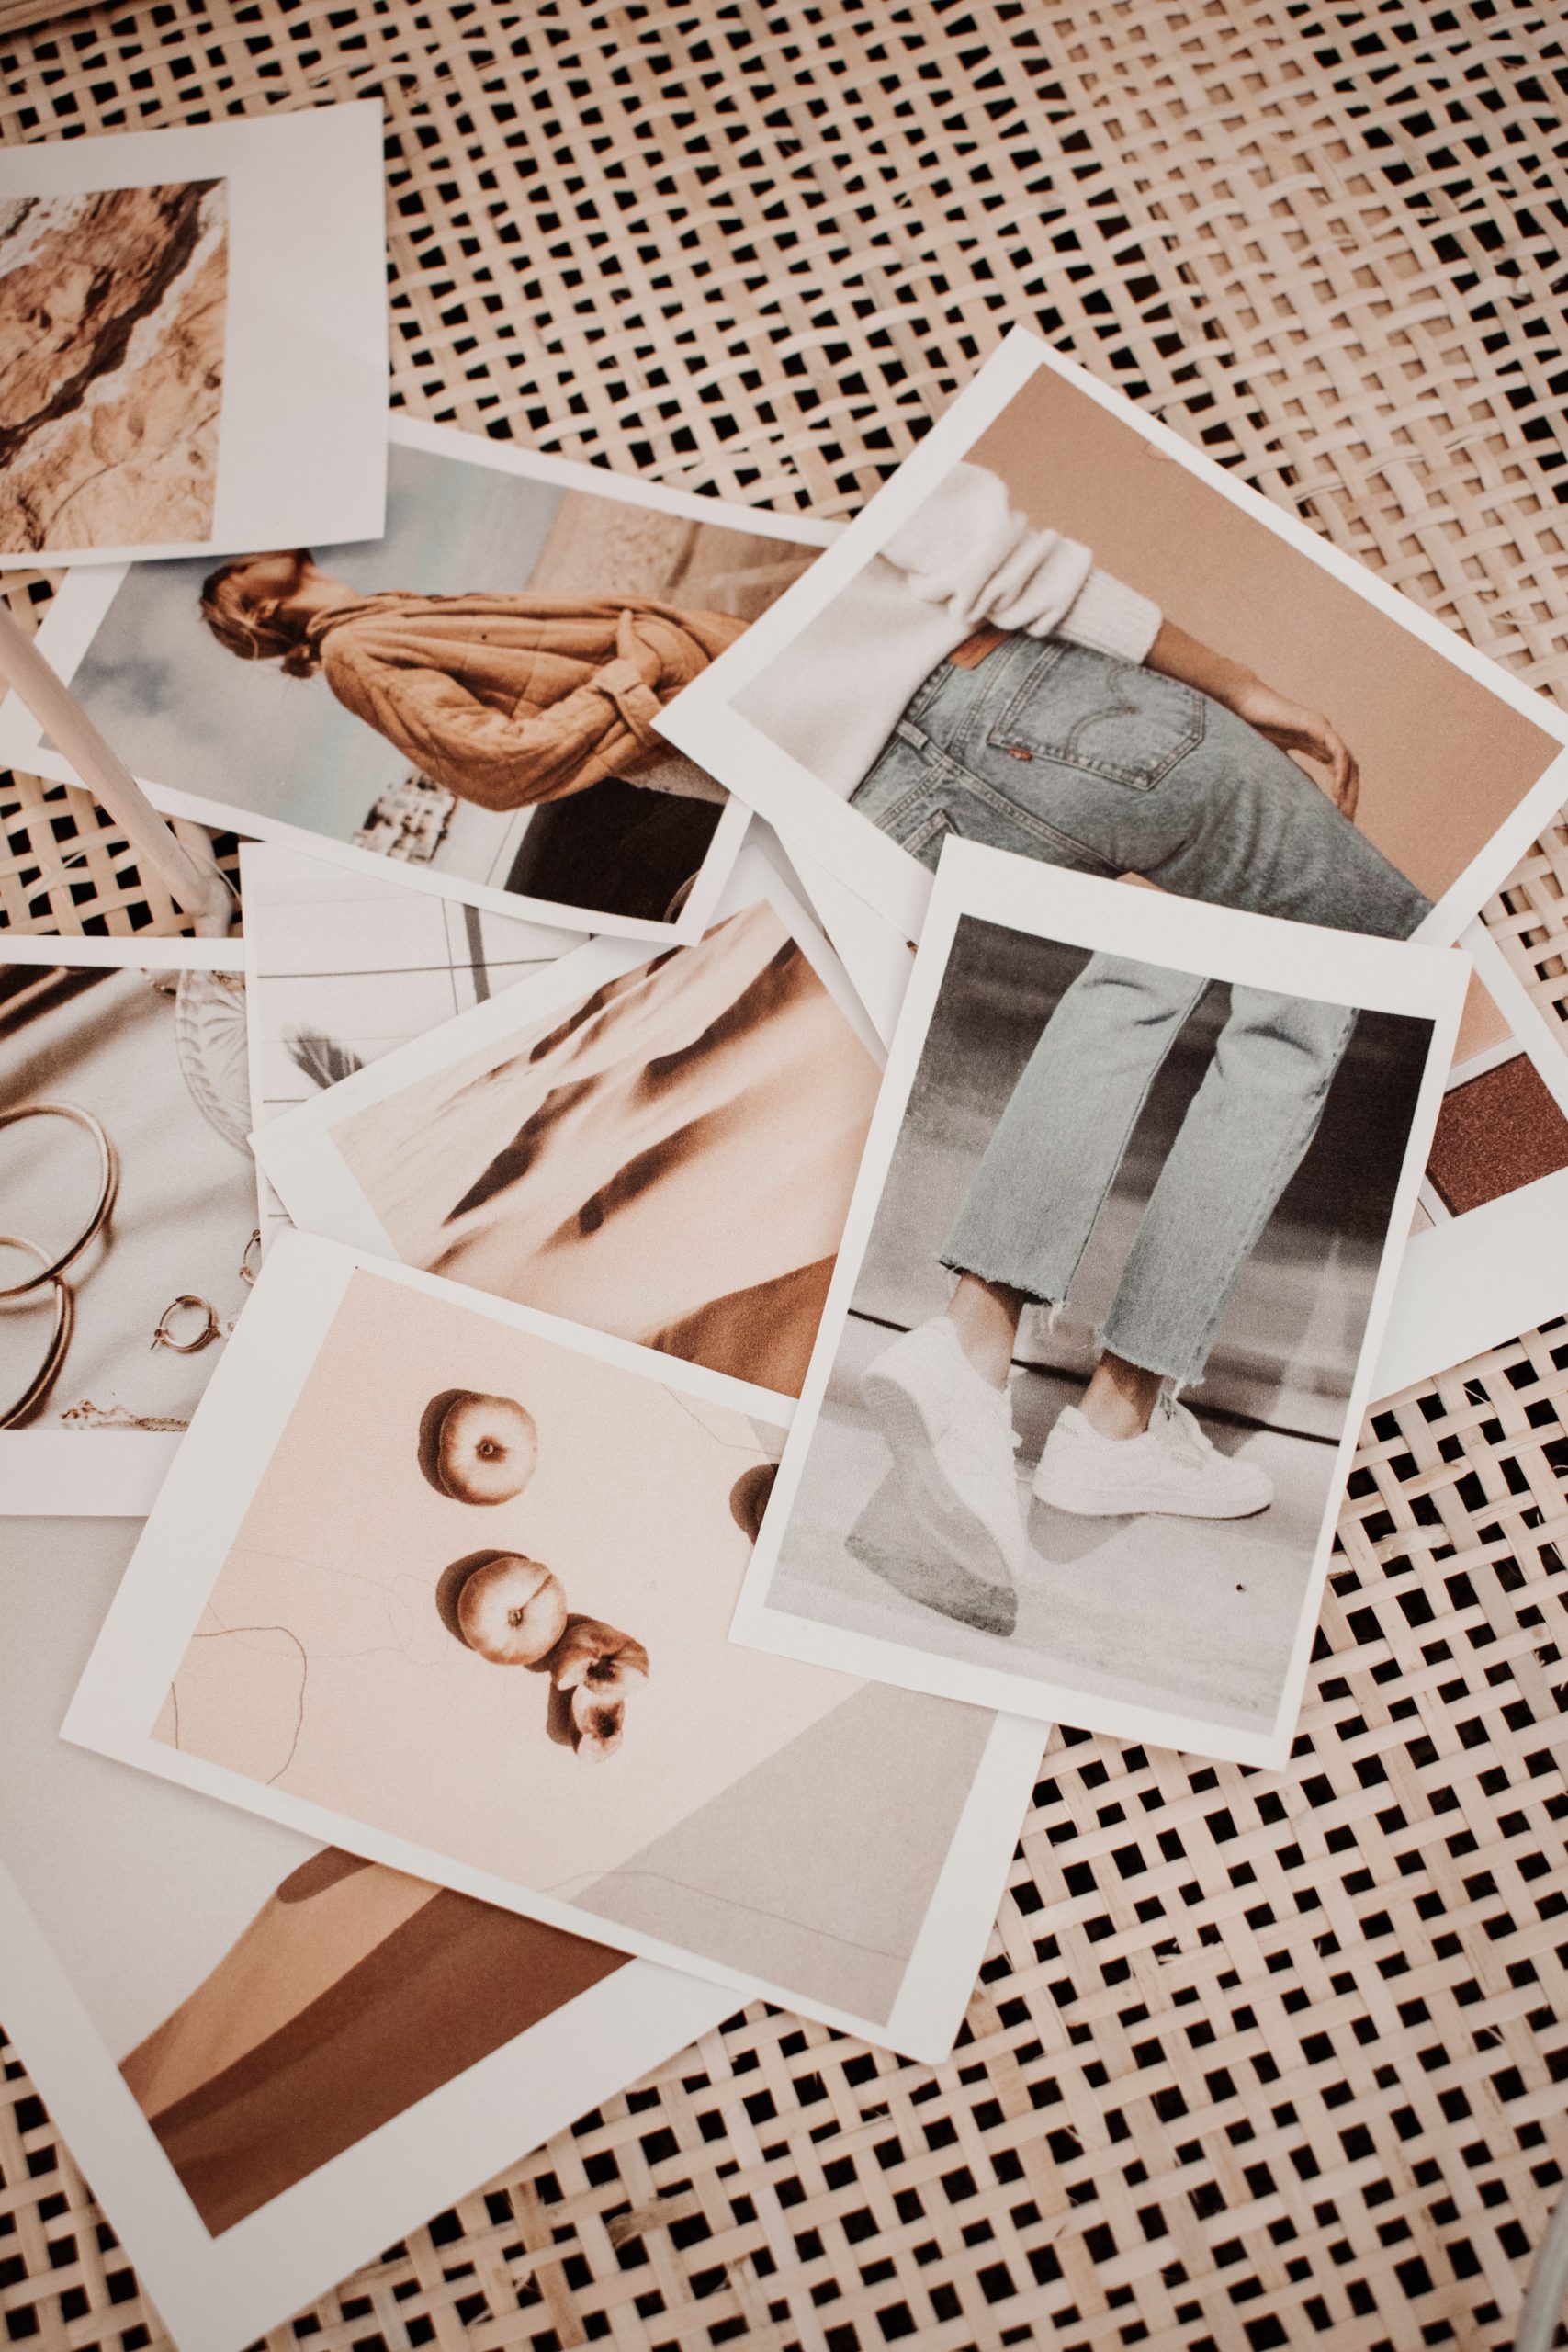
A photograph has the ability to transport us into another time and space. It can recreate a special moment within a millisecond. We pause, we smile, we laugh, we remember. Although it may be a cliché to say a photo captures precious memories, nonetheless, it is important to preserve such documentations of our lives.
Even if we are not the author of a photograph, a picture still has an ability to provoke emotion whether it be for our amusement or our peace. So to place evocative images in our homes or workplaces, no matter the author, is important for our senses to feast on.
So what is the best way to get the most out of displaying photography?
Although there are no hard and fast rules, certain guidelines may help to get your creative juices flowing, but bear in mind, possibilities are endless. For example, I once saw a row of glass milk bottles, lined up along a window sill, each harbouring a slender black-and-white photograph printed on card – simple yet stunning, a work of art within itself.
I prefer to display bolder works – or larger photographs – in the main living areas where they will be most appreciated and can provide conversation starters. A grid of photographs, which takes up the equivalent of an expansive area, can be eye-catching, particularly if the frames are the same colour. To do this, mark off, using a ruler and masking tape, the area you would like filled with artwork – say, a metre by a metre.

Using blank sheets of paper and putty, re-arrange the paper until you are happy with how they aesthetically look, then use suitable picture hooks to hang them.
If you are unsure of what sort of hooks to use, either Google or YouTube “how to” instructions or drop in to your local hardware store for advice on hanging pictures. Generally, for heavy pictures, you’ll need to find the stud (part of the timber framework hidden behind the plaster). For lighter pictures there are various options. For renters, some landlords will put in extra hooks for you but if not, there are a number of removable hooks on the market which won’t leave the walls marked. Putty, however, will deposit oil into the walls and paper posters and stain them. Pins can also be useful for stringing up photographs. I like to cover a canvas, whiteboard or corkboard with photos – that way you only need one hook in a wall to hang them.
Another sneaky/arty way of displaying photographs is to hammer a nail into the topside of a door frame or window and run a string from one to another, then peg your photos accordingly. Of course, if you own your property, how you hang works comes down to display considerations.

One of the best places to house smaller works – especially if you have pictures of varying sizes – is in your hallway or stairwell. Toilets make effective galleries, too. Staircases can be tricky, however, if you’re only hanging a few. You need to follow the stair line exact for the most harmonious look. If you’ve got a large collection to display, then, once again, use masking tape to mark out the area. Keep the photographs relatively at eye level all the way up the stairs, and, using blank pages and putty, create a pattern which appears pleasing to your eye.
Varying sizes, shapes and colours in frames can create an artwork in itself, but for more harmonious or traditional displays, choose similar themes, or frames. Once again, there are no hard and fast rules, however, you’ll know off the bat if something is not gelling with you. Trust in your instincts, but don’t be afraid to think outside the square.
As a simple guideline: traditional = symmetry (in a row, or grid). Contemporary/Arty = think-outside-the-square, anything goes.
Generally, keep displays in the bedrooms (or any room you use for peace and calm) simple, elegant, and harmonious. These places are for resting so use a general colour scheme with similar shapes to promote flow. Go for broke in entrance halls or living spaces but remember, big spaces look best with big artworks (or a large area covered with small photographs).
Leave room around your picture so it can “breathe” without it being overwhelmed by other pictures, unless of course, you are making a bold arty statement. If you are unsure, ask a friend to help! Two heads are better than one.

